for conversion to another format
SalesLogix has a very particular setup that is not easily duplicated on our end. That's why they have SalesLogix consultants to set it up on customer sites. So it is more cost effective for you if we log in to your existing environment for the data extraction phase.
There are 3 basic steps to get us the data to work on:
1. EXTRACT THE DATA USING ODBC
Option 1: Virtual "House Call" Technique |
|
|
We can log in to your system's desktop using
|
We will use our Open
Data Base Connectivity Data Extractor |
Option 2: Or, you can
sending us the 2 SQL Files via the
OnLineFileFolder.com
|
|
|
Go to the MS SQL Enterprise
Manager |
Right Click on Database |
2. COMPRESSING YOUR DATABASE FILES
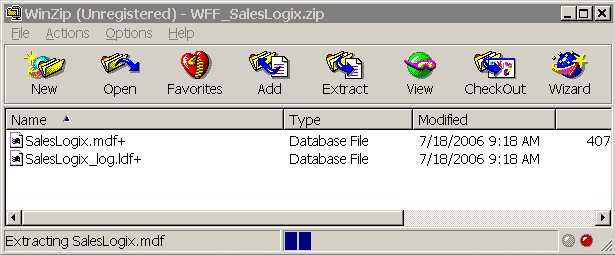
Compress the files for faster upload, using
WinZip

3. SEND THE FILE via a secure web browser service
Go to https://WeTransfer.com
Select the file such as "MyDatabase.zip"
Send to Convert@CICorp.com
Enter your email address at your company
Message is optional, such as a password if necessary
click Transfer
We will then perform the conversion.
4. DOWNLOAD the FINISHED ACT FILE
When done, you can see your data in the destination software
Use the Admin record to check the conversion
Let us know when you are satisfied with the results so we can delete your
files.
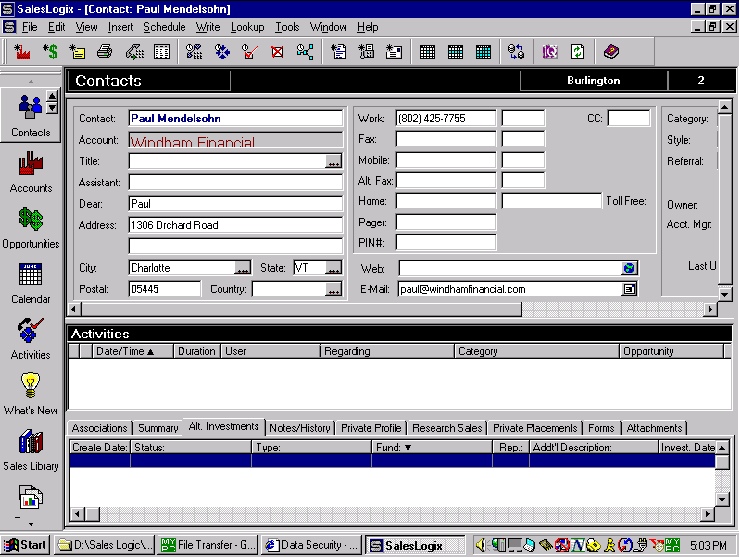
In SalesLogix select Lookup, All Contacts then use the number of contacts to look up
the cost on our Standard Chart.
If you have an unusually large number of User Defined Fields, Groups, or Notes, please contact us.

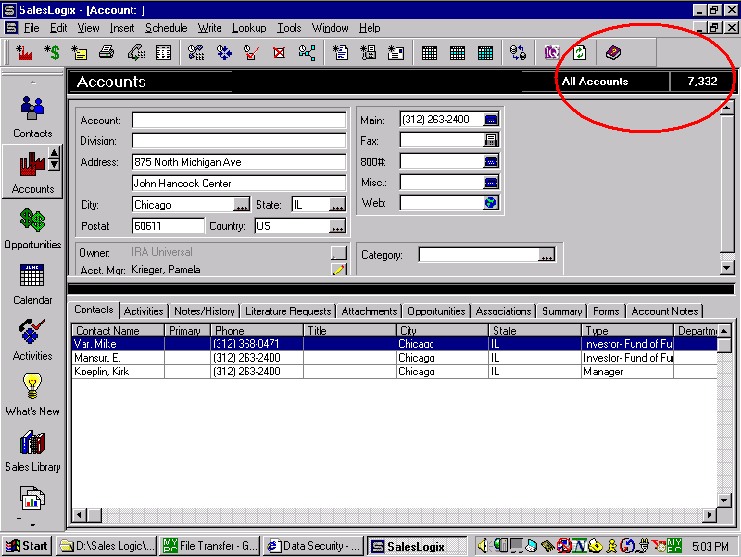
Select all Accounts then look in the upper right for the
count.

Do the same for Contacts, then add the two together to get your count.
Here are the general steps - Just the .GDB
1. COMPRESSING THE SALESLOGIX FILES
If you need WinZip, download the free Evaluation copy from http://WinZip.com
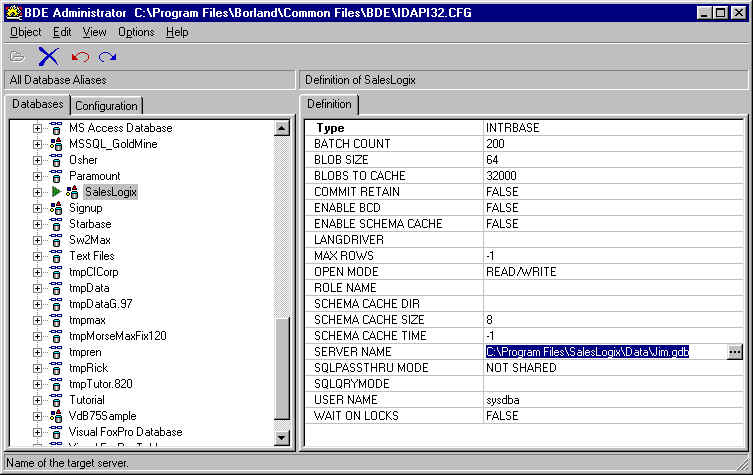
Find the SalesLogix Data folder. It may be under C:\Program Files\SalesLogix\Data
You can tell if this is the right folder if it contains such files with extensions such as
.GDB
Once WinZip is installed on your computer, you can
1. Make sure everyone is out of SalesLogix
2. Select the SalesLogix\Data file with a single left click
3. Right click, then select Add to Zip
4. For the file name, enter a name such as MySalesLogix.ZIP
Everyone should be out of SalesLogix for this to work because if a file is open by someone on your network, it will not compress some files, and I will not have all the data to convert.
To make sure you have the right database, go in and make a simple change, such as changing "St." to "Street" in an address. Then exit the software and check the date and time stamp. If it is within the last minute you have the right data file. More Tips
We can take care of the data files. If you need assistance on the other files, such as word processing templates, which may have to be converted separately by your staff, please feel free to call.
The location of this folder may vary. Usually this folder is found in
C:\SalesLogix\Data or
C:\Program Files\SalesLogix\Data
The attachments can make the Zip file quite large, such as 200MB, when the necessary data
would fit in 2 MB. This makes it take longer to send your files to us.
2. UPLOAD YOUR SALESLOGIX DATABASE TO OUR SECURE SERVER
Large files (10 MB+) often do not transmit properly, if at all, through email.
Some organizations have a limit on the size of attachments you can email.
We suggest using our web based drive, which offers you up to 100 Megabytes of online
storage space.
If your file is larger than that, give us a call at 800-319-3190, so we can send you the FTP settings to upload it directly using an FTP program such as CuteFTP.
Enter your name, company, phone, and email, so we can contact you if there are any questions during the conversion. This will be the phone and email we will use to tell you when your data is ready.
For your protection, enter a password of your choice. We will use
this to encrypt the ZIP file. This is for your security. We want zero
chance that your data will accessed by anyone other than you.
Please let us know the following configuration information
