Even Simpler - for single work station
To buy licenses: https://cicorp.square.site/product/software-legacy/1?cs=true&cst=custom
|
Computer 1Only - White = Consul Officer or "Main" computer |
|
All computers - Yellow Do this for For all computers, 1, 2, 3, etc.. |
Step |
Setup and Folder (if any) |
Description |
Network Installation |
||
| 1 |
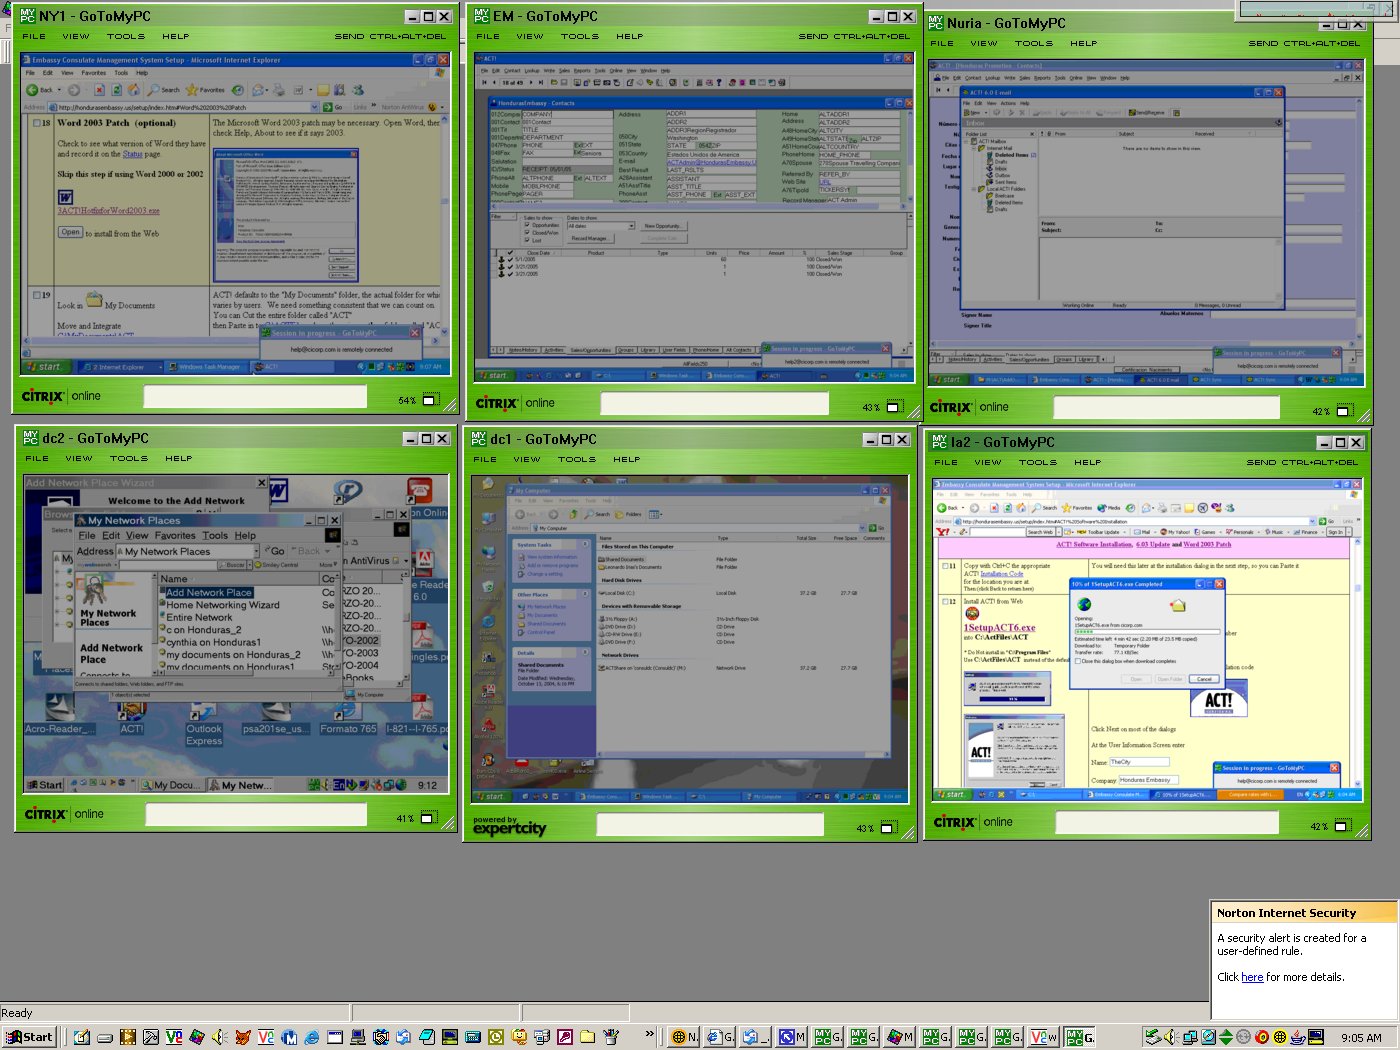
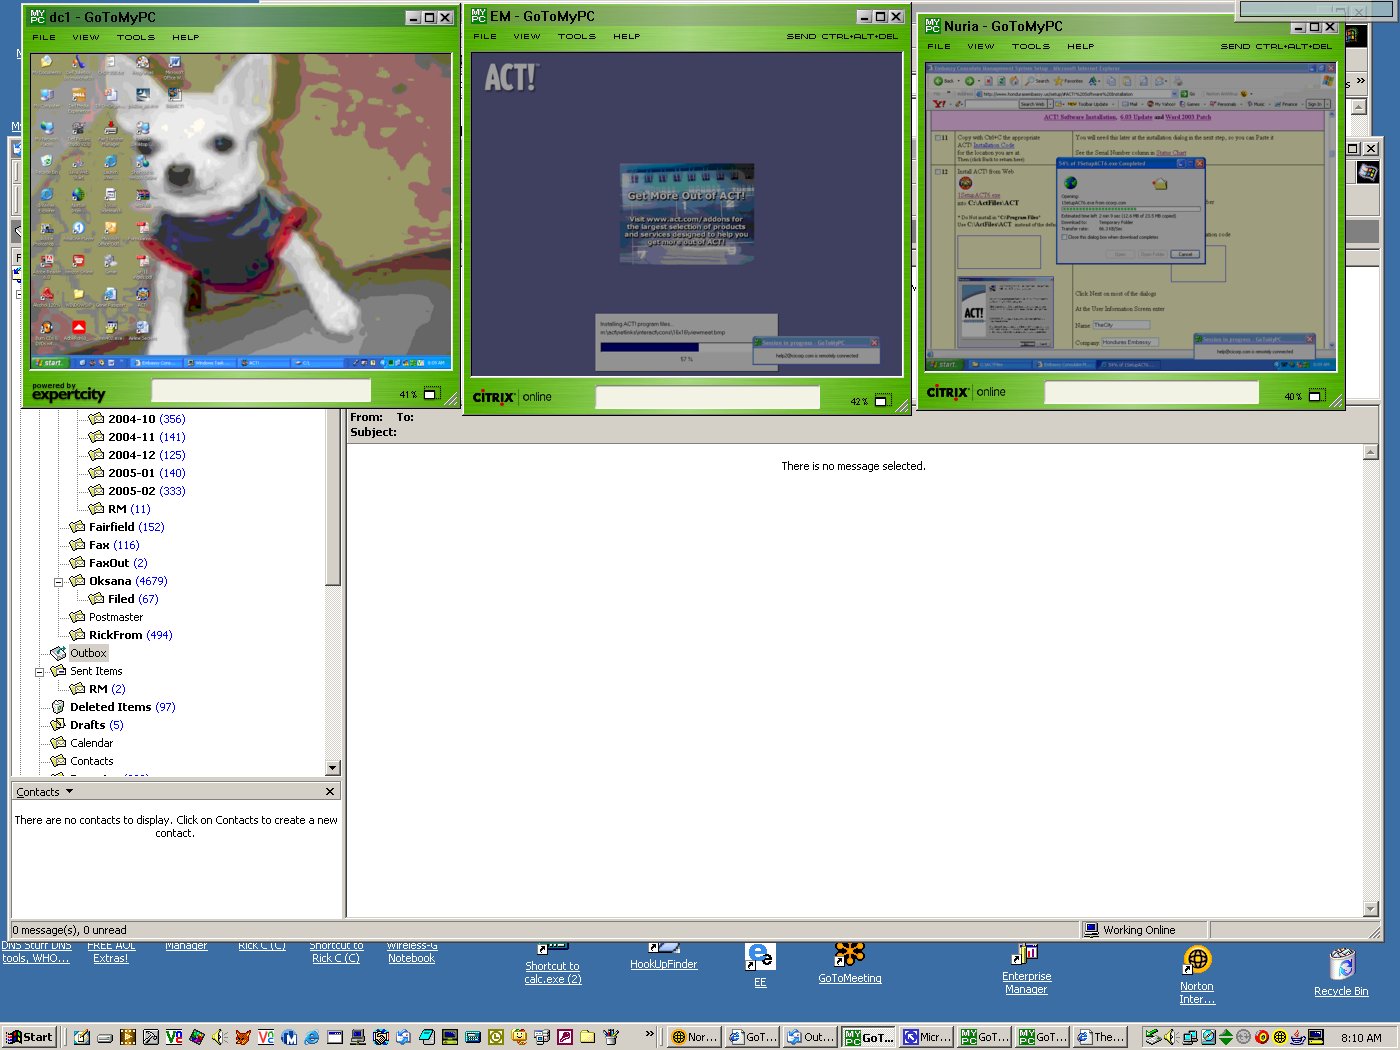
Log in via LogMeIn.com
|
Remote access help@cicorp.com help1234 You can find the code on the Status Chart |
| 2 |
Simultaneous Installations |
 |
|
3
|
Web FavoriteHonduras Embassy Consulate Management System
|
Make this page easy for them to find for updates, plus for yourself.
|
| 5 |
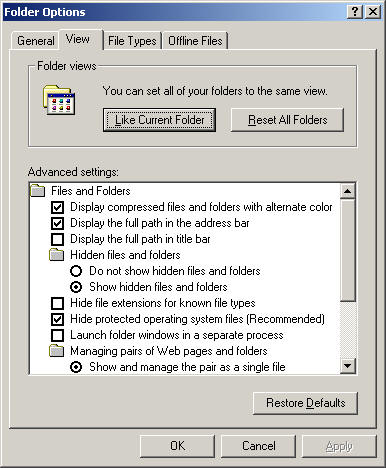
Windows View Details Folder Options
|
Select any My Computer folder window on C: , then Tools, View details
Move the Date column to the left so the order is |
| 6 |
Not Hide File Extensions
Make all settings |
Do this from Windows Tools Folder Options
So we can see .EXE .DBF, etc. |
| 7 |
Enable Networking and File Sharing |
From Windows - may vary It may already be networked, but may not |
| 8 |
Make the Workgroup name for the network WORKGROUP You may have to restart |
Some computers may default to "MS HOME" Change it to WORKGROUP (which is more businesslike) My Computers properties Most networks have no Domain Controller |
| 9 |
Setting up folders, shares, and maps for the ServerExecute this BAT file (under testing) on Computer #1, the
Server only |
MKDIR
C:\ACTFiles MKDIR C:\ACTFiles\ACT NET SHARE ACTShare=C:\ACTFiles\ACT MAP M: =\\ServerName\ACTShare |
| 10 |
Setting up folders and maps for the WorkstationsExecute this BAT file (under testing) only on the Computers #2, #3, #4, etc. |
MKDIR
C:\ACTFiles MKDIR C:\ACTFiles\ACT MAP M: =\\ServerName\ACTShare |
| 11 |
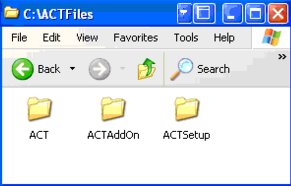
Make a New Folder and name it "C:\ACTFiles" C:\ACTFiles ACT! will be installed beneath this folder in another folder called |
Mkdir C:\ACTFiles
Do this for ALL computers because the 2nd computer might have to become
the 1st computer in an emergency.
1. make a folder called C:\ACTFiles and install ACT! there. After all
that's what they are, ACT files.
2. Then one of the folders, the one on the Computer #1 is designated "ACTShare" which is a name assigned to the folder. 3. Then we map M: to ACTShare, which is really C:\ACTFiles on the Computer #1
So the equation is:
M: = ACTShare = C:\ACTFiles
|
|
12
|
Make a New Folder to Store the ACT! Installation Softwareto store the software only on the Computer #1 for storing the ACT! installation software
|
This will save the time in downloading the setup exe's in case you need to set up a new workstation. The license codes are what you actually purchase from ACT! |
| 13 |
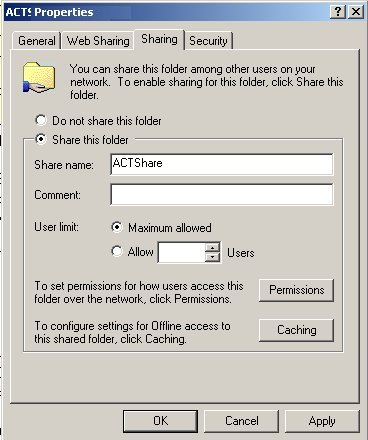
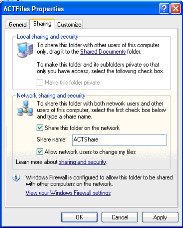
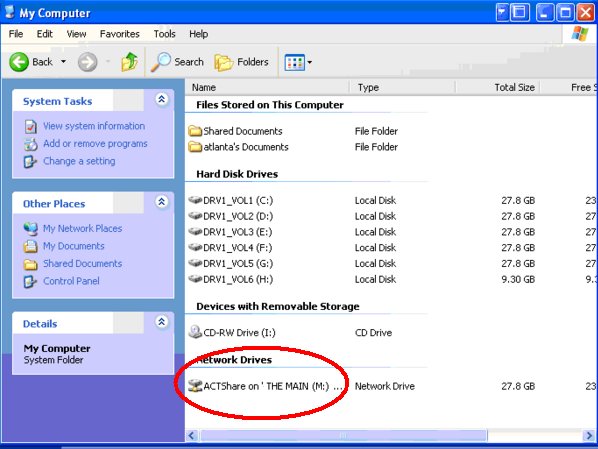
Share C:\ACTFiles
NOTE: Share this folder only on computer 1 only. On computers
numbered 2 and higher, do not share.
|
Do this from Windows Menu Share this folder, but not the whole C: drive Right click on this folder then Sharing... for Everybody The share name will be "ACTShare" and you will see a hand on the folder.
Note: we could have called the share "ACTFiles" and that is the default. But this has caused confusion in the past. This is because we were using the same name for technically two different things. A share is not a folder, but it points to either a folder or a hard disk. We will call the share ACTShare. |
| 14 |
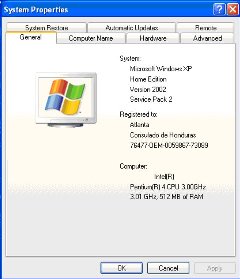
Determine the Machine Name of the Consul Hard disk size:
Megs |
We will use this in the next step Go to his My Computer, right click to see the Properties Remember the Network Identification. We are assembling a list of their hardware as well. |
| 15 |
|
Record on the Setup Page, or email to
Rick@CICorp.com
|
Download Software |
||
|
|
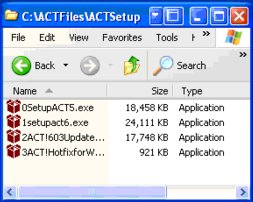
Download the Software in to C:\ACTSetup or
C:\Temp
|
Right Click to Download When done it looks like this
|
ACT! Software Installation, 6.03 Update and Word 2003 Patch |
||
| 17 |
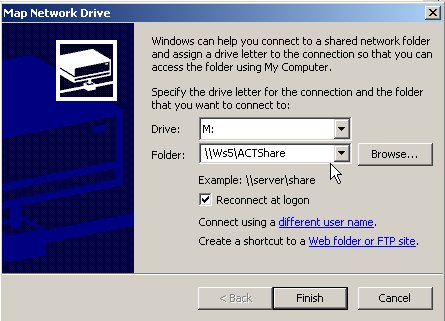
Map M: to ACTShareM: = ACTShare on the Consul's computer
|
Use mouse and menus or DOS Command Tools, Map Network Drive C:\> net use M: \\Consul\ACTShare where "Consul" is whatever the Consul's machine name is. Note that ACTShare is not a folder name. |
| 18 |
Copy with Ctrl+C the appropriate ACT! Installation Code for the location you are at. Then (click Back to return here) |
You will need this later at the installation dialog in the next step, so you
can Paste it See the Serial Number in on the white CD envelope that comes with ACT! |
| 19 |
Install ACT! from Web or #1
* Do Not install in "C:\Program
Files" * Do not use any mapped drive, such as M: for installing any software.
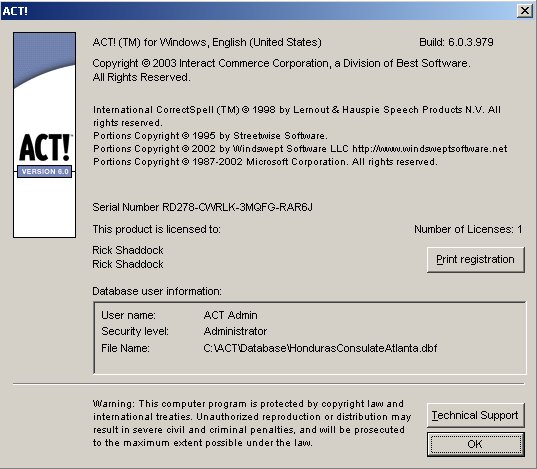
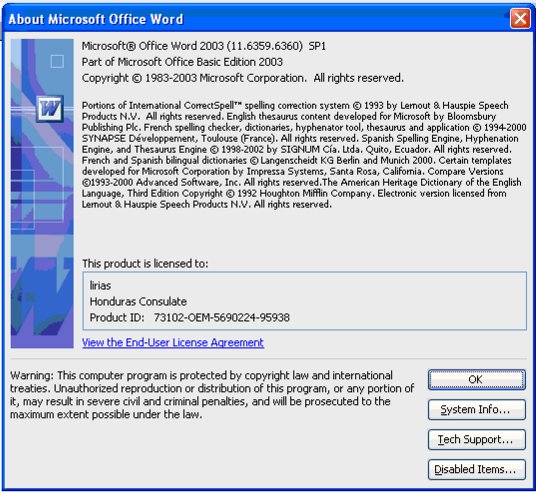
Later on, you can check the Serial Number with the Help, About ACT! dialog
|
This installs the basic ACT! software as C:\ACTFiles\ACT\ACT.EXE You will be prompted for your Software License Number Follow the prompts of the wizard, and enter the Installation code
Click Next on most of the dialogs At the User Information Screen enter Name: Company: Serial No:
The Serial No's are for Simultaneous Use. So make sure the #1 and #2 computers use different Serial No's. Plus each #1 must be different than the main computer's code: No computers should use either of the above codes, otherwise synchronization may not work. ACT! checks for the uniqueness of the code because it is included in the header of the synchronization packet sent by email during synchronization.
|
| 20 |
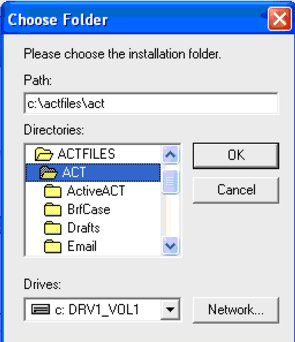
Installation Destination
|
When it asks to Choose Destination Location click on Browse then enter
Answer Yes to create the folder. Country Version: United States We need to have it available for All Users who may log in to this machine. The Program Item Folder is ACT! 6
NOTE: Do not use the M: drive as that is only a Mapped drive, and not a true and absolute destination. Use the C:\ACTFiles\ACT which is a true folder. |
| 21 |
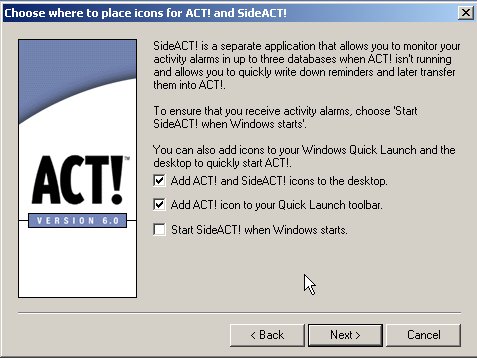
Icon Placement
|
Choose where to place icons for ACT! and SideACT! Add ACT! and SideACT! icons to the desktop Add ACT! icon to your Quick Launch toolbar Start SideACT! when Windows starts (NO) Wait while it installs
|
| 22 |
ACT! Installation Wizard
|
You can get a list from Status Chart Prefix: First Name: Last Name: Company: Job Title: Address: City: State: Zip Code: Country: Phone: E-mail: NEXT Bypass the
Survey Print the form to any available printer. If necessary, you can install the Generic TXT printer. You do not need to register through the Internet, as this may create confusion. |
| 23 |
QuickStart Wizard
Word processor |
Now to set up defaults. We will use Microsoft Word instead of ACT!'s
word processor. Set the default Word Processor to Word, not ACT's own internal word processor which is not very good. |
| 24 |
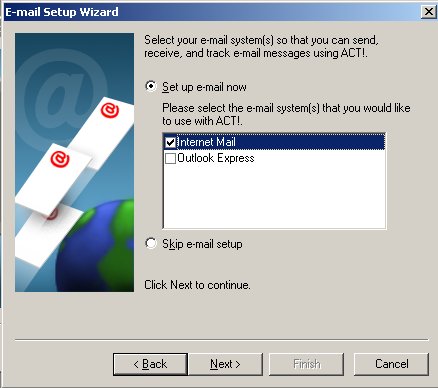
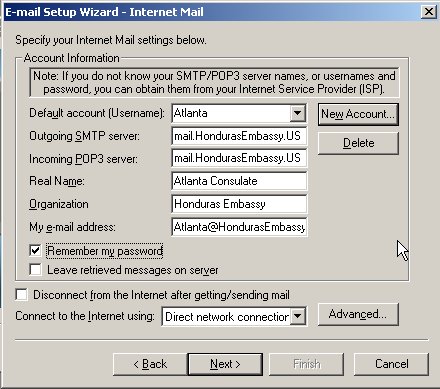
The Startup Wizard may prompt you for which email program, choose Internet Mail
|
We will use ACT!'s own internal Email client, so we do not interfere with
their Outlook settings or email. Use Internet Mail (ACT!'s) instead of Outlook to prevent interfering with their personal email settings. In rare situations we may have to use Outlook. But we will try ACT!'s first. Click on New Account: For the Embasssy Project, on Computer #1, use the City@HondurasEmbassy.US For the Investment Promotion on Computer #2, computer, use the City@HondurasEmb.COM Using Atlanta, Georgia as an example: Default account (Username): Atlanta Remember my password
|
| 25 |
Set up database now
|
We already have databases set up for them, so we can Skip the database setup. |
| 27 |
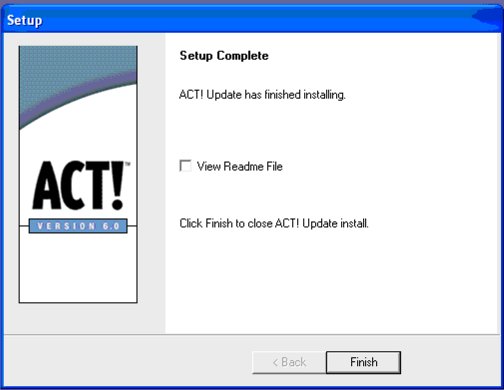
Finished Basic ACT! InstallationYou can skip the Read Me file View Readme File |
 |
| 28 |
You do NOT have to Restart WindowsYes, I want to restart my computer now No, I will restart my computer later |
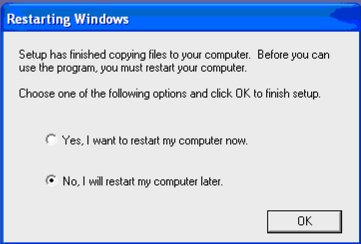 |
| 29 |
You may have difficulty in exiting ACT!This may be because the Registration Dialog is behind the other windows and it may be difficult to get the mouse and cursor to it. Try the Alt+Tab to get to it. You may have to Ctrl+Alt+Del out of it. |
The patch for version 6.03 is supposed to fix this problem. |
| 30 |
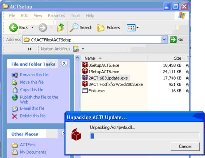
Install ACT! Update
|
This installs the latest ACT! upgrade
|
|
First you must close ACT! Then click on
Restart computer |
You do NOT really have to restart or reboot the computer This fixes the "ACT Hang" where on some machines you have to Ctrl+Alt+Del to exit ACT! It also updates the FINIS.EXE file which helps ACT! exit normally and fixes a bug in version 6.0 |
|
| 31 |
Word 2003 Patch (optional)
|
The Microsoft Word 2003 patch may be necessary. Open Word, then check Help,
About to see if it says 2003.
|
| 32 |
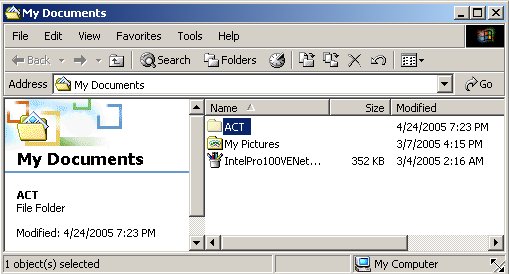
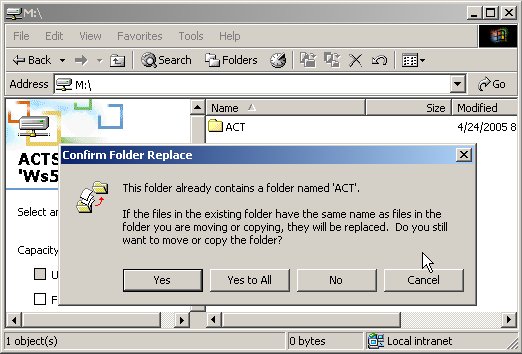
Combining the 2 ACT! Folders in to 1Look in Move and Integrate Cut and Paste
to
|
ACT! defaults to the "My Documents" folder, the actual folder for which
varies by users. We need something consistent that we can count on.
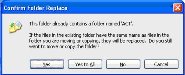
You can Cut the entire folder called "ACT" then Paste in to C:\ACTFiles where there is another folder called "ACT" Answer
Yes to Overwrite, so all ACT! folders are in the same place:
This is very important for the Database installation step coming up soon. It also simplifies the situation, so we have only one folder called ACT! Note: You will have to do this upon Installation and Re-Installations of ACT! |
| 33 |
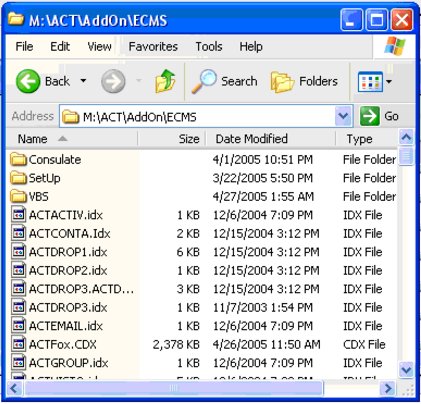
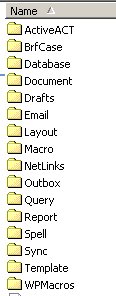
Check the ACT folder structure for consistency
instead of spread out in to 2 redundant folders. |
Now all the folders are in one place M:\ACT |
Starting up ACT! |
||
| 45 |
Starting up ACT! Start from the Windows Desktop |
Let's clean it up a bit With Windows XP you may need to minimize all windows |
| 47 |
Put SideACT! icon in Recycle Bin |
We don't need this icon. It will only create confusion. SideACT is a small, relatively worthless add-on to ACT! |
| 49 |
Put the ACT! icon where it can be seen. Start Up ACT!
|
Now we will start the program, which should be now in
M:\ACT\ACT.EXE
|
| 50 |
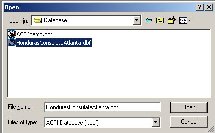
File Open
|
File Open to look for the Consulate DBF At the main screen of ACT! you may find yourself in the Demo database ACT! provides a start up demo with the name Chris Huffman - the "Joe Customer" of ACT! |
| 51 |
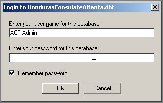
Login as ACT Admin
|
With no password In case someone put a password on ACT Admin, you can use Duane Anderson's PassGET add-on. |
| 52 |
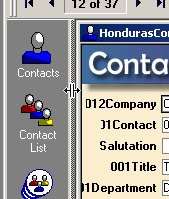
Now we see the default Screen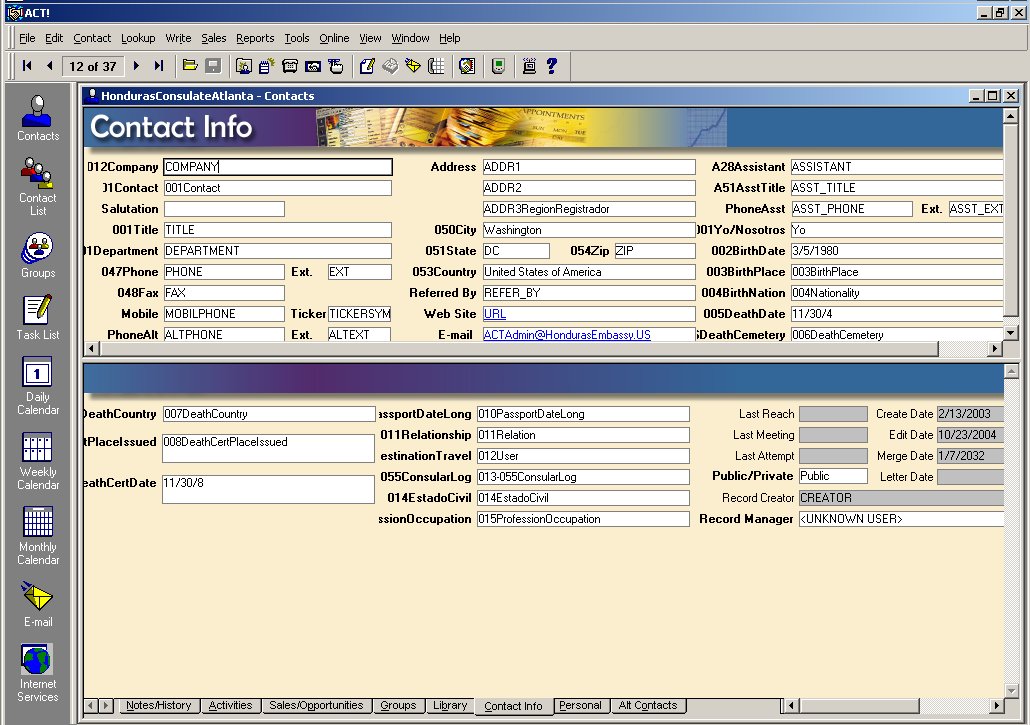 |
This is the default screen appearance of ACT! We have customized additional Screen formats, which we will now prepare to use. Note that the Contact Layout button only contains |
| 53 |
View Bar remove
|
Most of the screens we will use will need all the room we can get. So
the View Bar on the left side of the screen will have to go. After you squeeze it to the left, a prompt will ask if it is ok to go to the Small View Bar. Yes
|
| 54 |
For Your Information Click on Edit Preferences.. 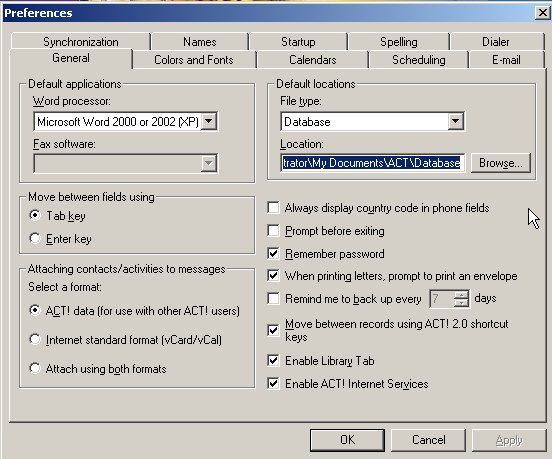 |
Note that the Default Folder for Database and other types of files is still
"My Documents"
We ant to change these automatically to the M:\ACT\Database, M:\ACT\Document, etc. We also do not want envelope printing, for example. When printing letters, prompt for printing an envelope Will we have to do this manually?! No, that would be too tedious. Rick had created Visual Basic Scripts to automate the process in to one click. Let's go on for the fine tuning Customizations! |
| 55 |
Turn off all RemindersFile,
|
Hardly anyone follows them, and it just builds a bad habit of pressing
Cancel to the prompt. For each, you can set it to Backup Database maintenance Roll over activities to today's calendar Run group membership rules Synchronize Update Outlook and ACT! calendars |
Note: the marks
will not stay permanently
and are there for your convenience in setting up.
.jpg)