
First, click on the ACT Attach icon to bring you to the main menu.
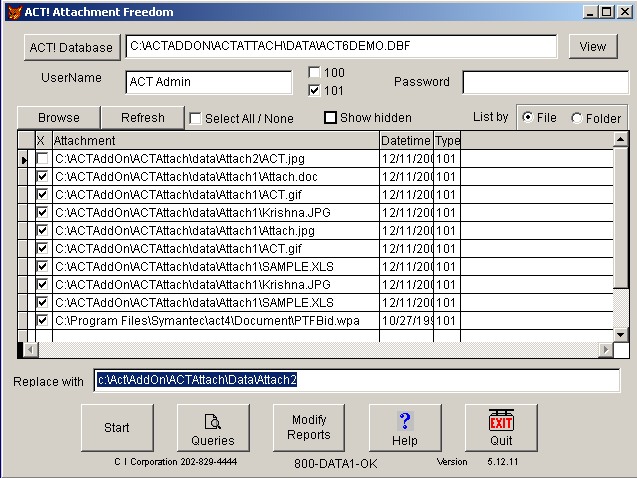
Next, select the database you want to fix. In this case it is
C:\ACTADDON\ACTATTACH\DATA\ACT6DEMO.DBF
Select the Refresh button, so it will give you a list of the Attachments found in this database
Select the ones you would like to change. You can Select All or None with one click.

Note that the first entry, C:\ACTX\AddOn\ACTAttach\data\Attach2\ACT.jpg
is already in the Attach2 folder, so it is not selected with an X
The paths you are changing do not have to be the same, as you can see from the
last one.
C:\Program Files\Symantec\act4\Document\PTFBid.wpa
You can change many different ones FROM a path,
but you can only specify one TO path at a time, which makes sense.
Then enter the full path that you would like to replace the entries with. In
this case:
c:\Act\AddOn\ACTAttach\Data\Attach2
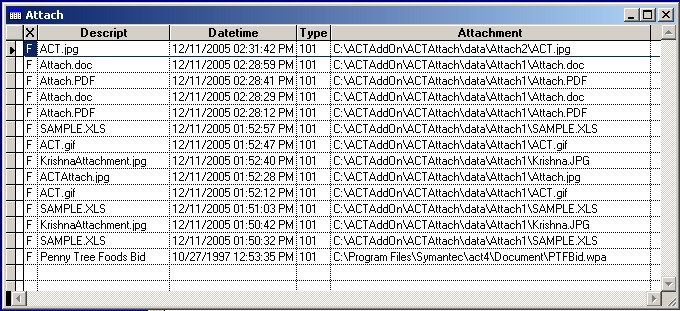
If you click the View button you can see the entries more clearly.

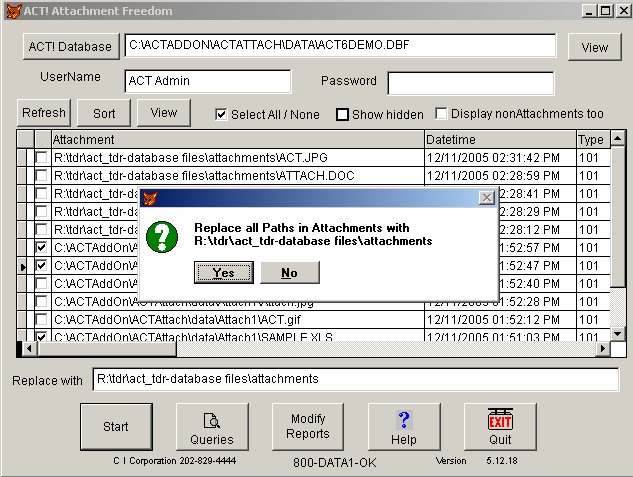
Click the Start button to start the conversion process.

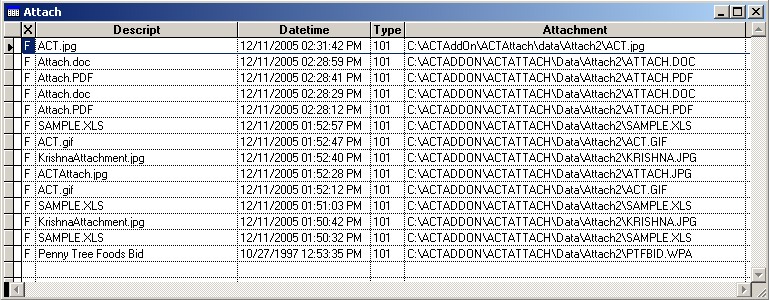
Note that the Attach1 has been changed to Attach2
While Running it looks like this
The program will create log files of what was done.