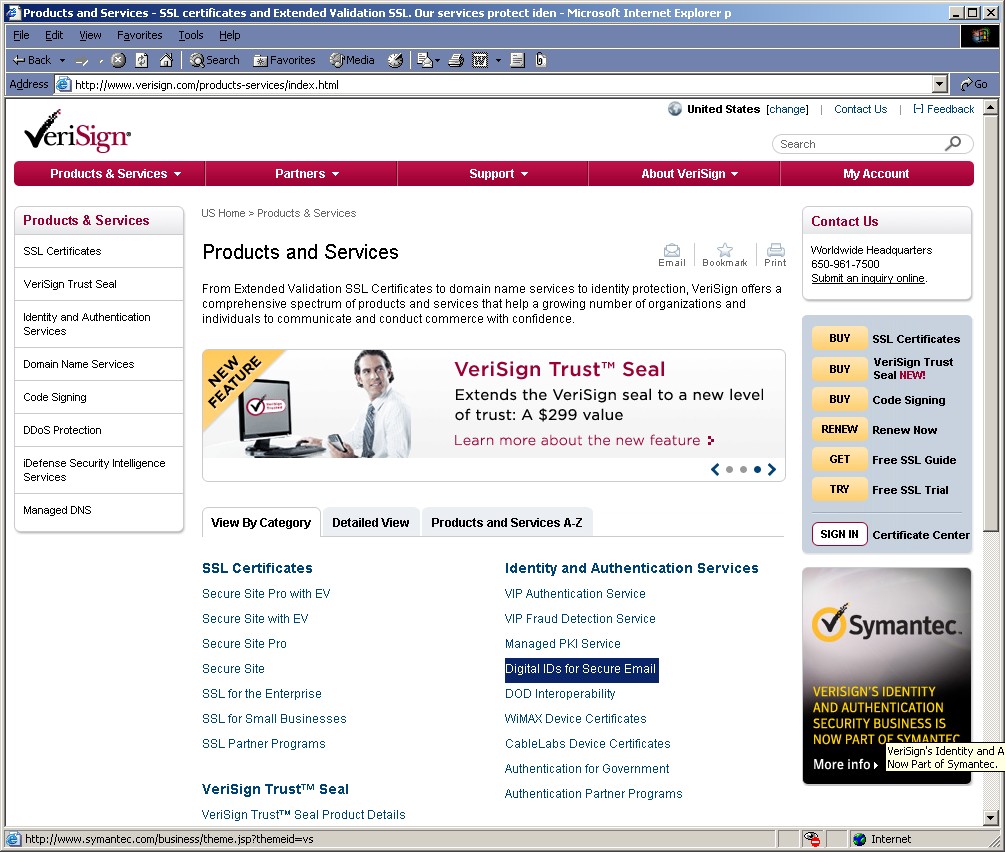
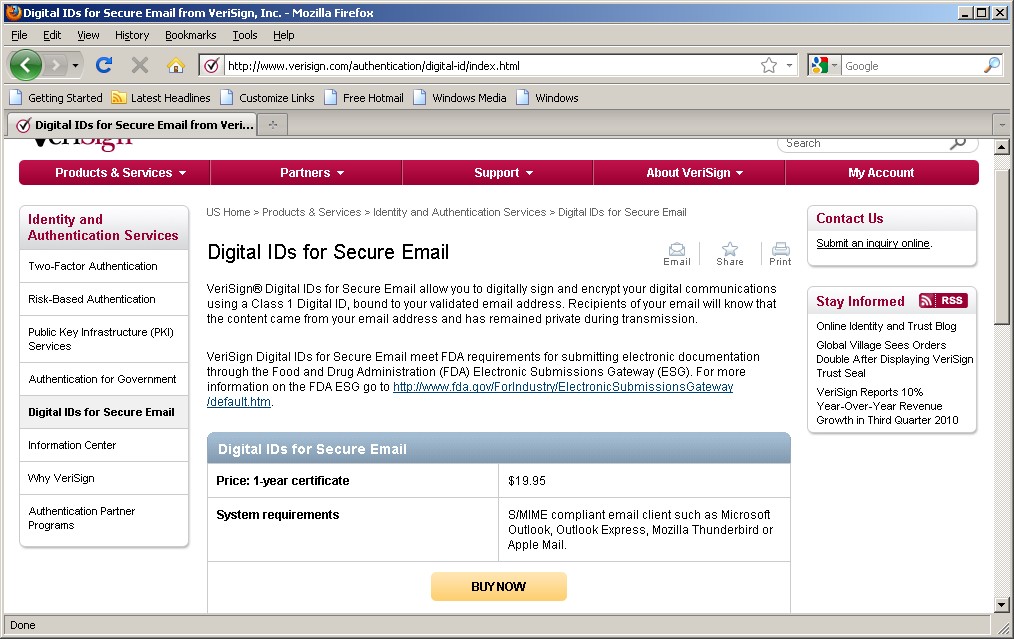
Click on Digital IDs for Secure Email
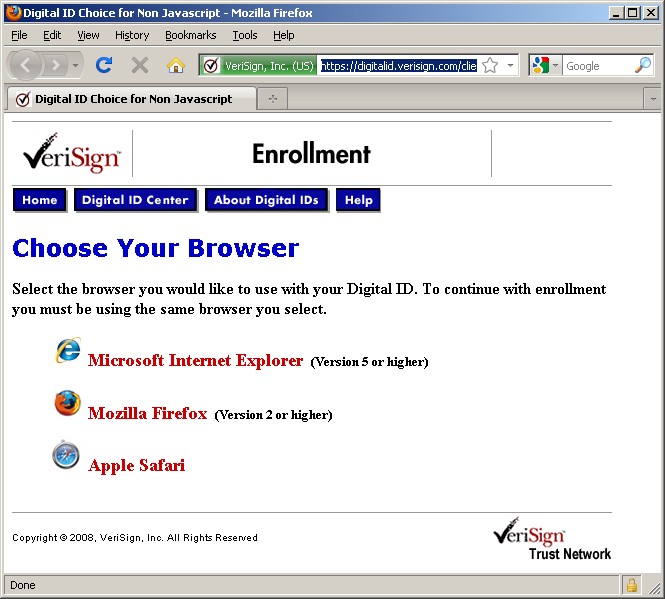
Select the Microsoft Internet Explorer browser
because you want it to work with Microsoft Outlook.
If you are using FireFox, go back to this page with IE.
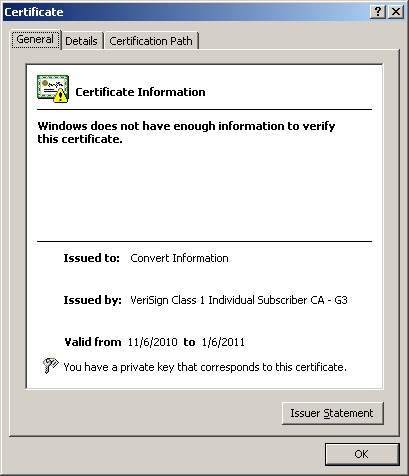
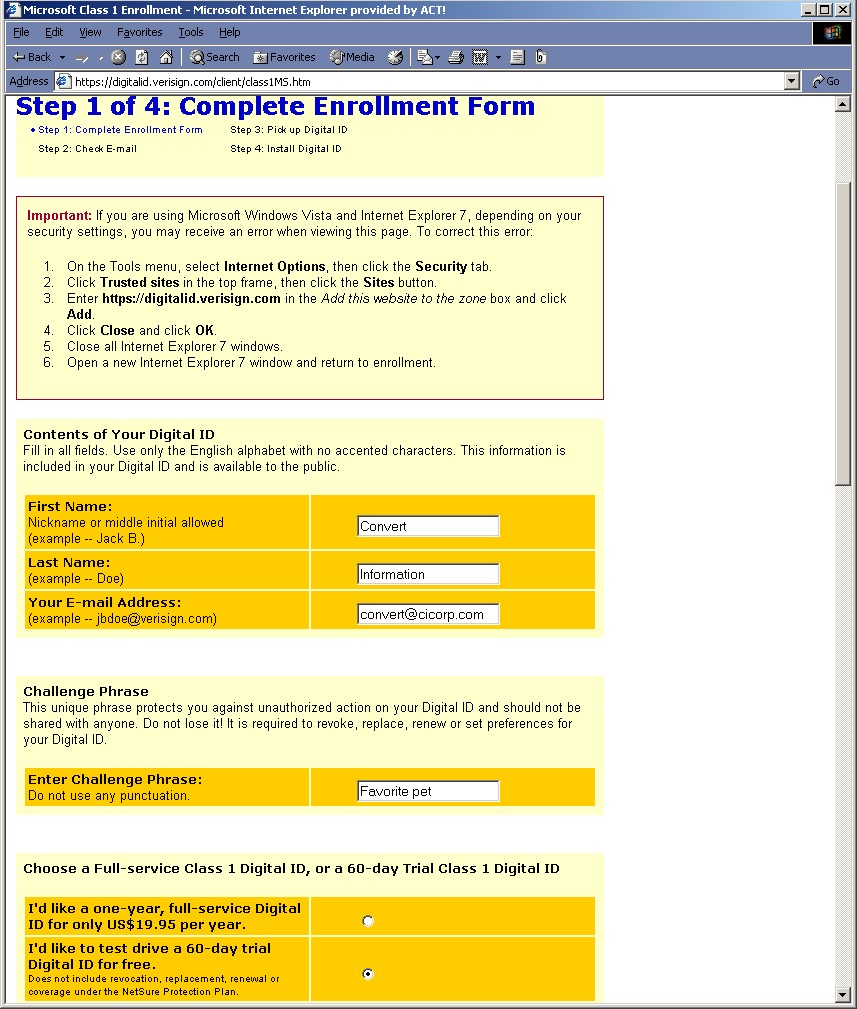
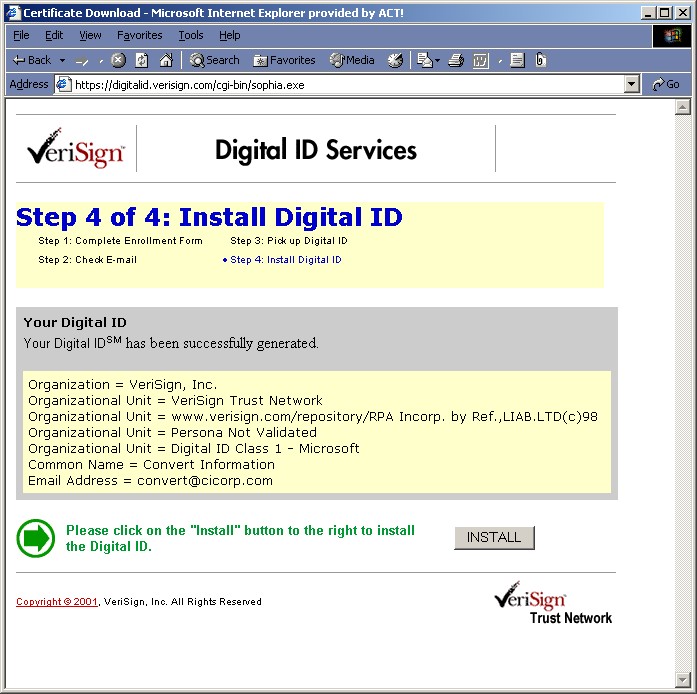
Contents of Your Digital ID
|
First Name: Nickname or middle initial allowed (example -- Jack B.) |
|
|
Last Name: (example -- Doe) |
|
|
Your E-mail Address: (example -- jbdoe@verisign.com) |
You can sign up for the 60 Day iTrial for now,
and do not have to enter a credit card at this time.
Select the default Cryptographic Service Provider
You do not have to Check this Box to Protect Your Private Key at this time.
Read the Client ID Subscriber Agreement and Click
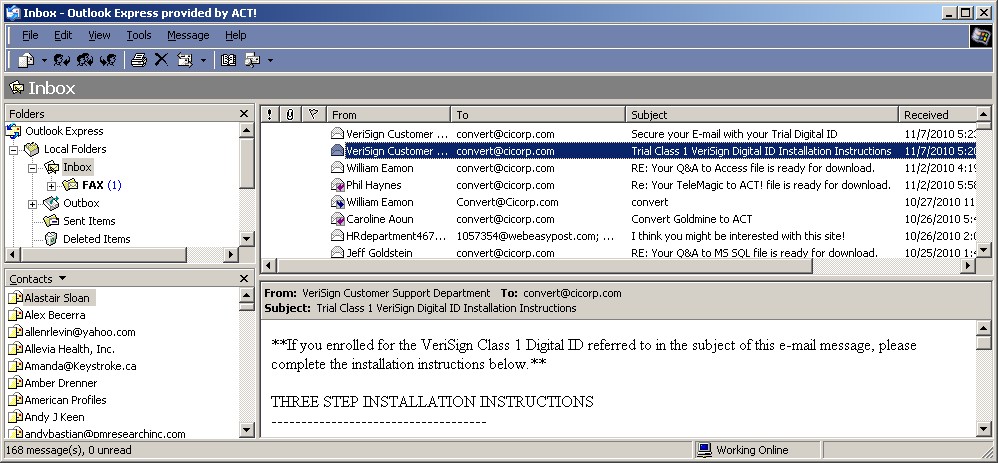
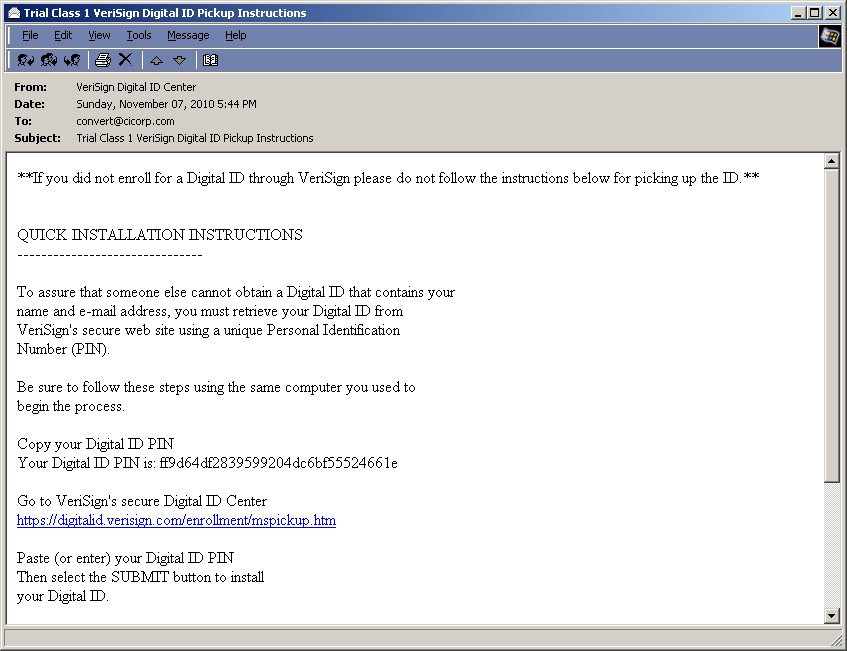
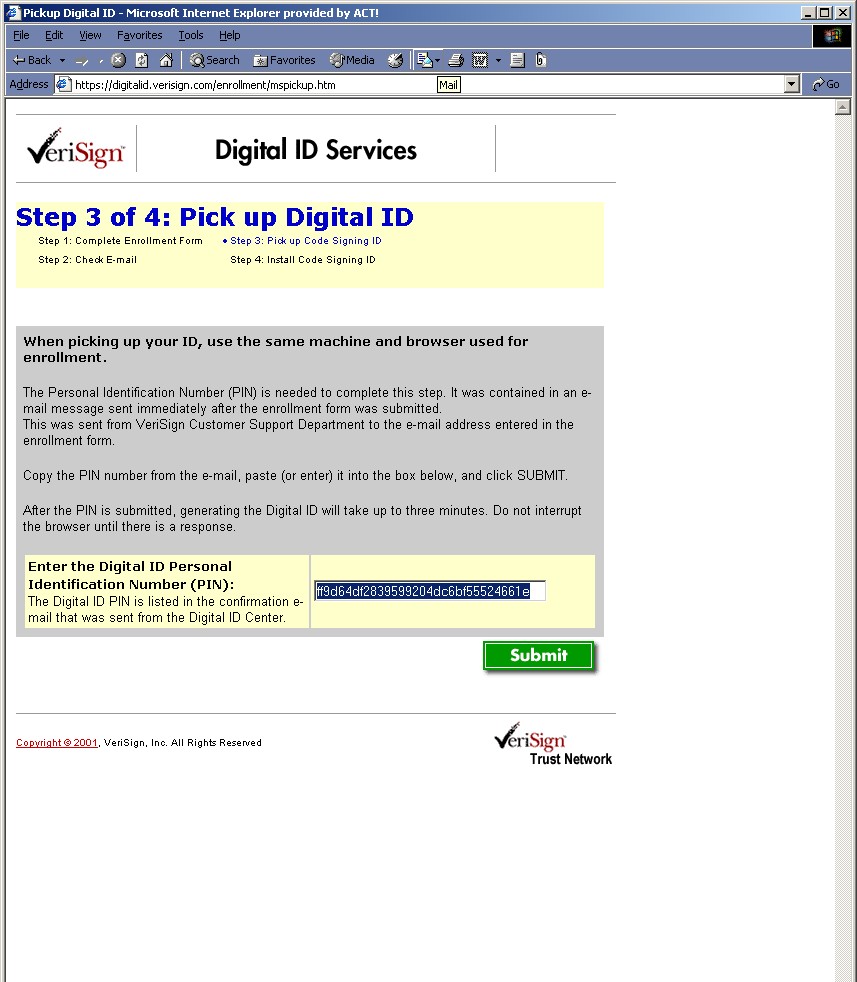
Paste the code that you get in the email in to the box
Click Submit
Click
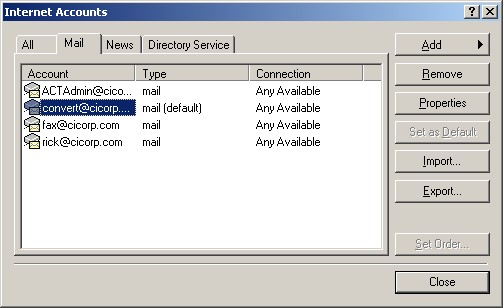
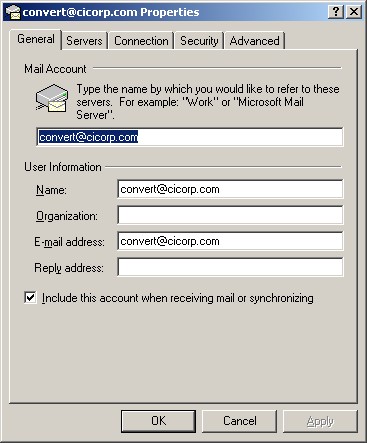
Select Tools, Accounts, and your email address
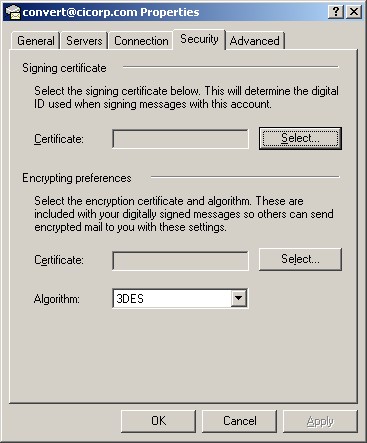
Optional Default settings
In Microsoft Outlook
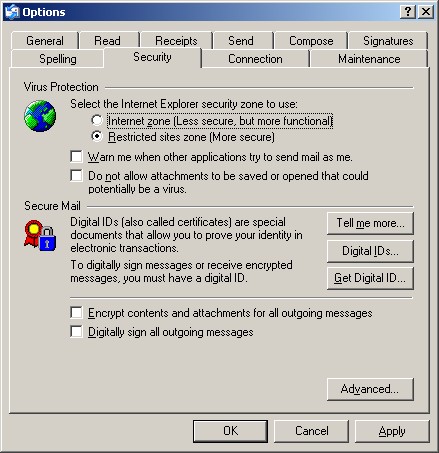
Select Tools, Option, then the Security Tab
You can make it a default for each message to:
Encrypt contents and attachments for all outgoing messages
Digitally sign all outgoing messages
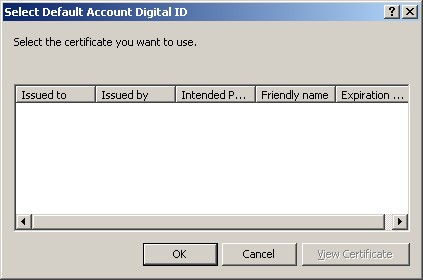
You will see the certificates available on this computer
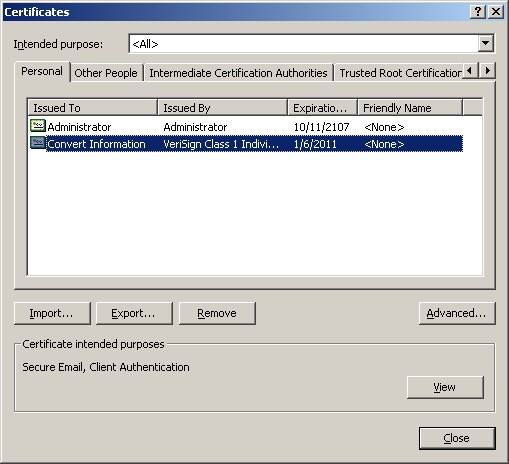
to View the Certificate