How to print mailing labels
for Christmas and other mass mailings
If you would like to send a e-mail or marketing campaign please review the
"Sales and Marketing" user guide this guide will detail how to create a mass
e-mail. To create address labels in Microsoft Word® using your customer address
list from your NetLedger application, follow these steps:
- In your NetLedger application:
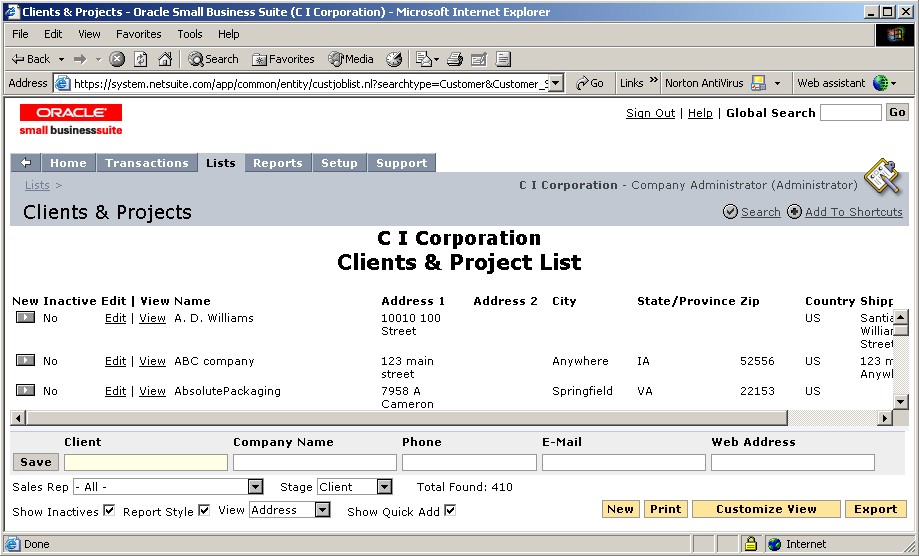
- Navigate to your customer list.
For an administrator: Lists > Relationships > Clients.
For a sales person: Customers> Relationships > Clients.
- At the bottom of the page, clear the Show Inactives check box.
- In the View field, select Address.
- In the Stage field, select Client.
- Click Export and save the file, renaming the file if you wish but
maintaining the CSV extension.
- In Microsoft Excel®:
- Open the CSV file you created.
- Select rows 1–5.
- Right-click and select Delete from the popup menu.
- Save the file.
- When you are asked if you want to save the format, select Yes.
- Close Microsoft Excel.
- In Microsoft Word®:
- Click Tools > Mail Merge.
- In the Mail Merge Helper window, select Create > Mailing Labels.
- Select Use Active Window.
- When the Mail Merge Helper window returns, select Get Data > Open Data
Source.
- In the Open Data Source window, in the Files Of Type field, select All
Files (*.*)
- In the File Name field, select the Customer file you exported from your
NetLedger application, and click Open.
- Click Set Up Main Document.
- Select your label size and per-page layout and click OK.
- Select OK.
- In the Create Label window, wherever you would like to insert a field
from your customer list, click Insert Merge Field.
- On the dropdown menu, click a name of a field you exported.
For example, select Name for the customer Name.
- Complete your label, inserting fields where you want them to appear.
- To include the addressing bar code:
- Click Insert Postal Bar Code.
- In the Merge field with ZIP code field, select Zip from your export
file.
- In the Merge field with street address field, select Shipping Address
from your export file.
- Click OK.
- When the Mail Merge Helper window returns, select Merge.
- In the Merge to field, accept New document as your entry.
- Complete other preferences as you wish, and select Merge.
This creates a new set of labels that uses information from your NetLedger
application's customer list.
Save this document and print it.
Note that in step 13 you can substitute Form Letters, Envelope, or Catalog.


