1. Log in as an Administrator
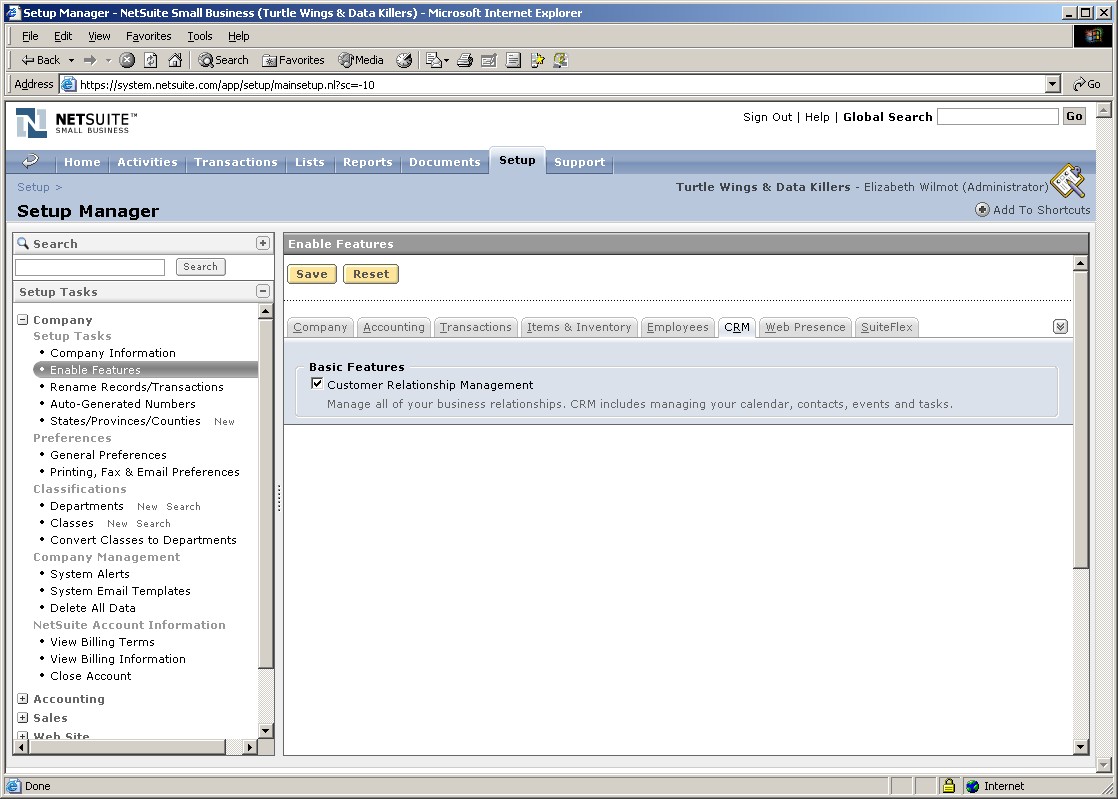
2. Go to Setup
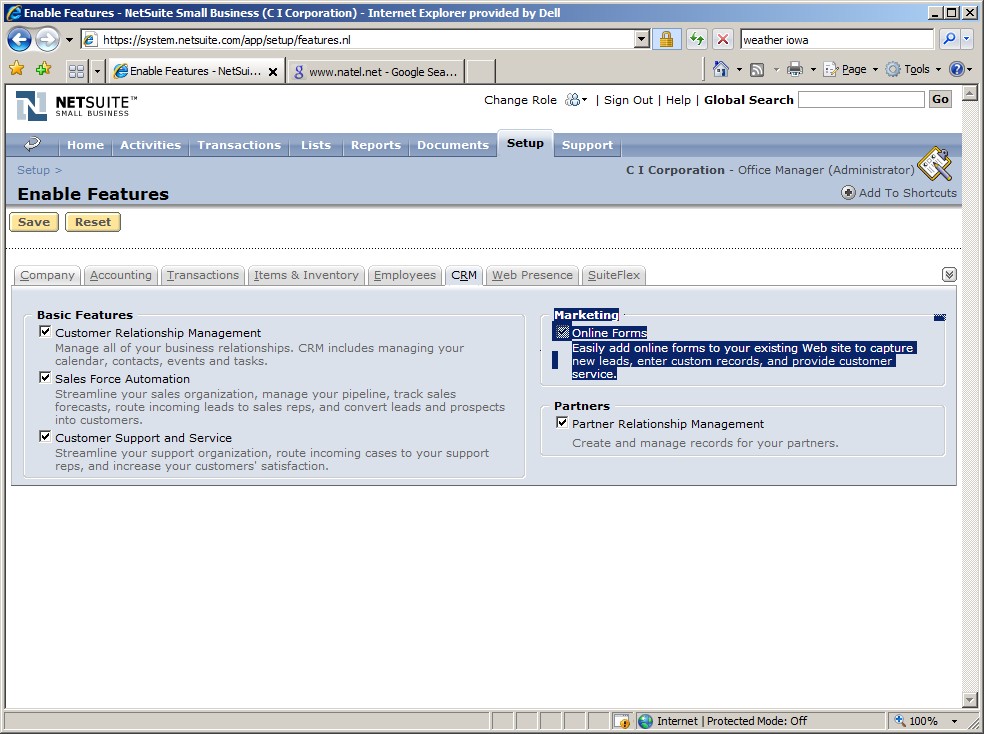
3. Select the CRM tab
4. Note that Marketing has the Online Customer Forms feature enabled.
If you do not have this feature enabled, call call NetSuite to request it.

4. Select Sales & Marketing Automation
5. Select Online Customer Forms
6. Create a new form, or Edit an existing Form
7. You will be taken to the Setup screen. Here is an example, filled in:
Set Up Workflow tab
8. Select the External tab, to see a URL that you can use on your web site, for example:
| Publishable Form URL | https://forms.netsuite.com/app/site/crm/externalleadpage.nl?compid=CICORP&formid=2&h=e0d28109d1531483a62e |
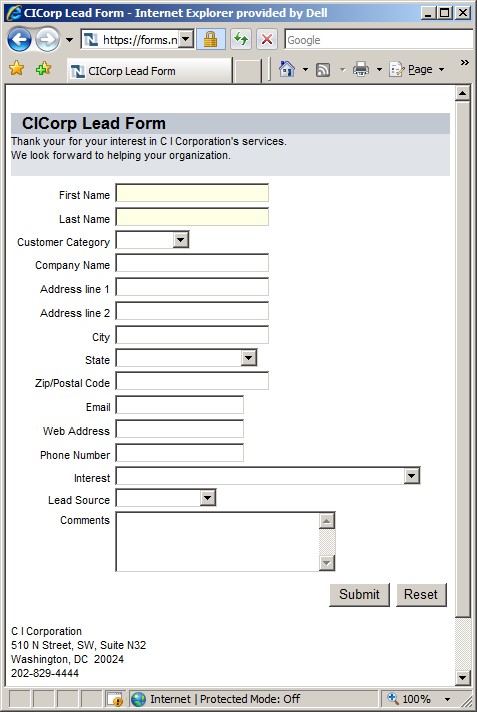
9. Enter some practice information on the form, for example ABC Company.

NetSuite does all the programming work for you!
You do not have to know how to write web based programs.
If you are curious, here is the Java Source Code
for the above form.
10. Go in to NetSuite Cnd look at your Recently Created Leads, sorted by Date descending.
You will find the record, and can click to see more details.
1. With Microsoft FrontPage, or your web site editing software,
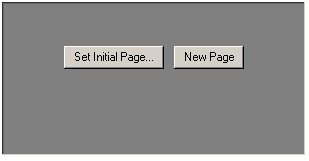
create a rectangular Frame.
Insert menu, Inline Frame

2. Set Initial Page to your URL as provided by NetSuite.
3. Stretch the grey rectangular frame to be large enough to show all the fields on the form, plus the Submit button.
4. Go to your Web site and try out the form, for example:
www.CICorp.com/ContactUs

It is suggested that you add an "Interest" custom field to your Customer & Lead Form, so the potential customer can select from a drop down list of your Items for Sale or Service.
It is suggested that you have a "Thank You" page to confirm that the form has been sent.
5. Note that the Online Customer Form using NetSuite's web server appears to be a form within your own web page on your web server.
For example, you can integrate the NetSuite Online Customer Form with your existing page.